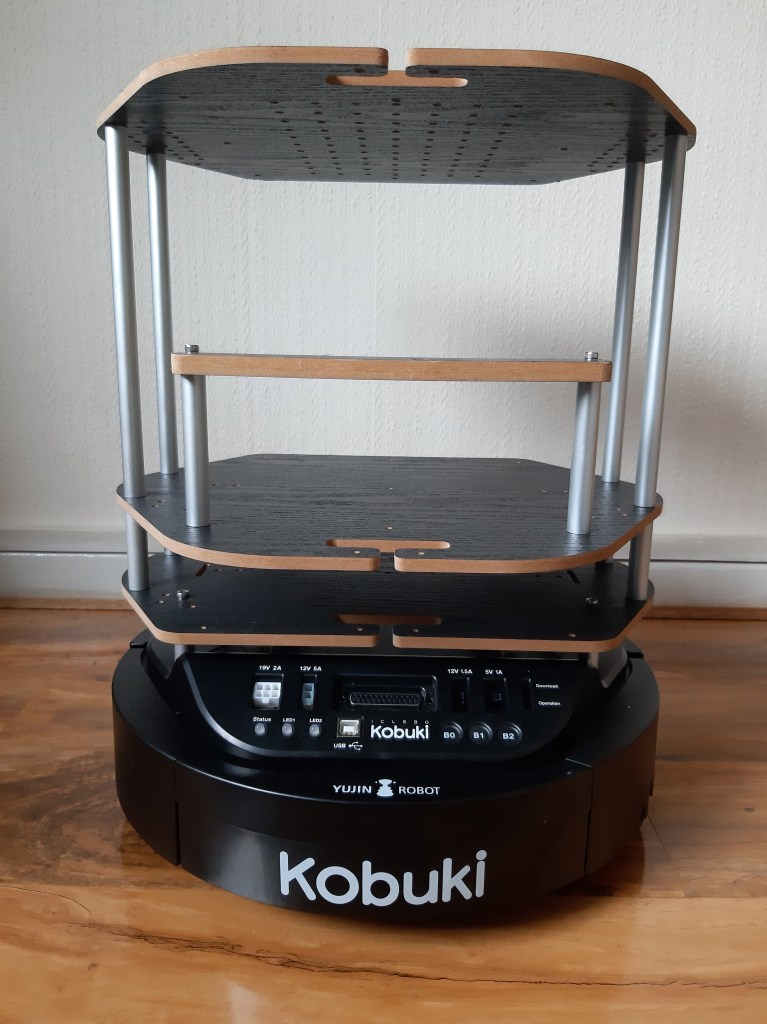
The TurtleBot2 robot is a popular open source robotics research platform. The platform officially supports a Netbook laptop as the main computer for the robot, however, driving around with a laptop on the robot can be cumbersome. It is better to integrate a single board computer with the robot platform to allow the robot to be truly mobile. In this tutorial, we discuss how to connect a UP-CHT01 board (UP board) directly to a robot and configure it for networking and sensor connections thus giving the robot a “brain” to exploit.
Connecting WiFi and ssh
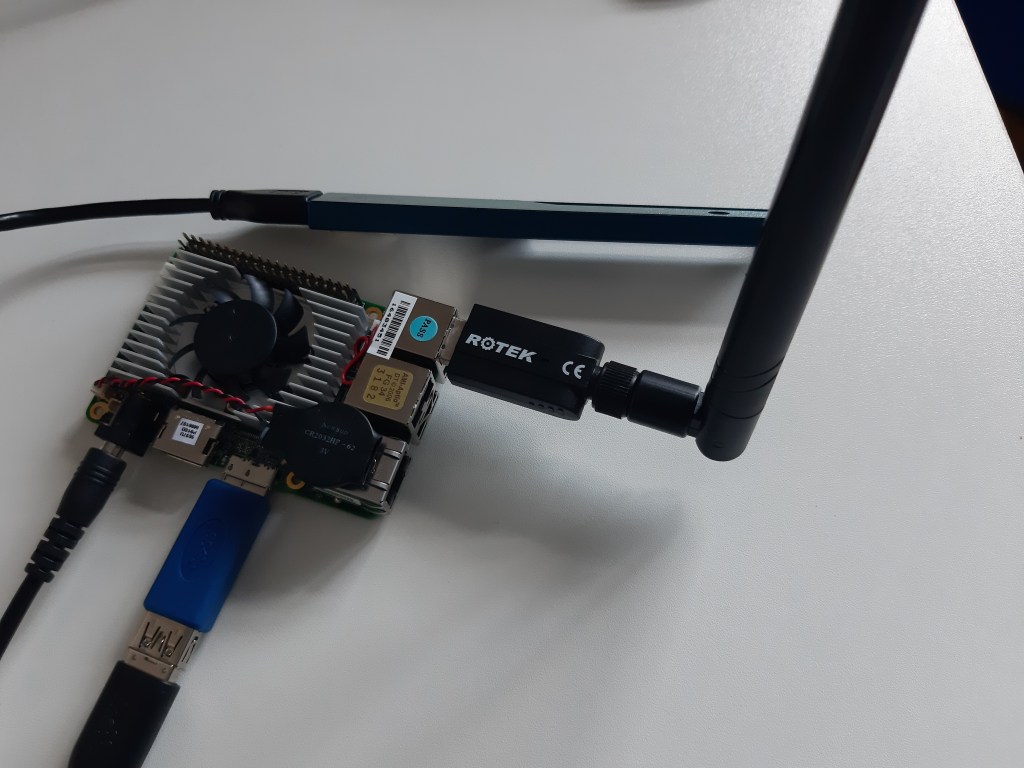
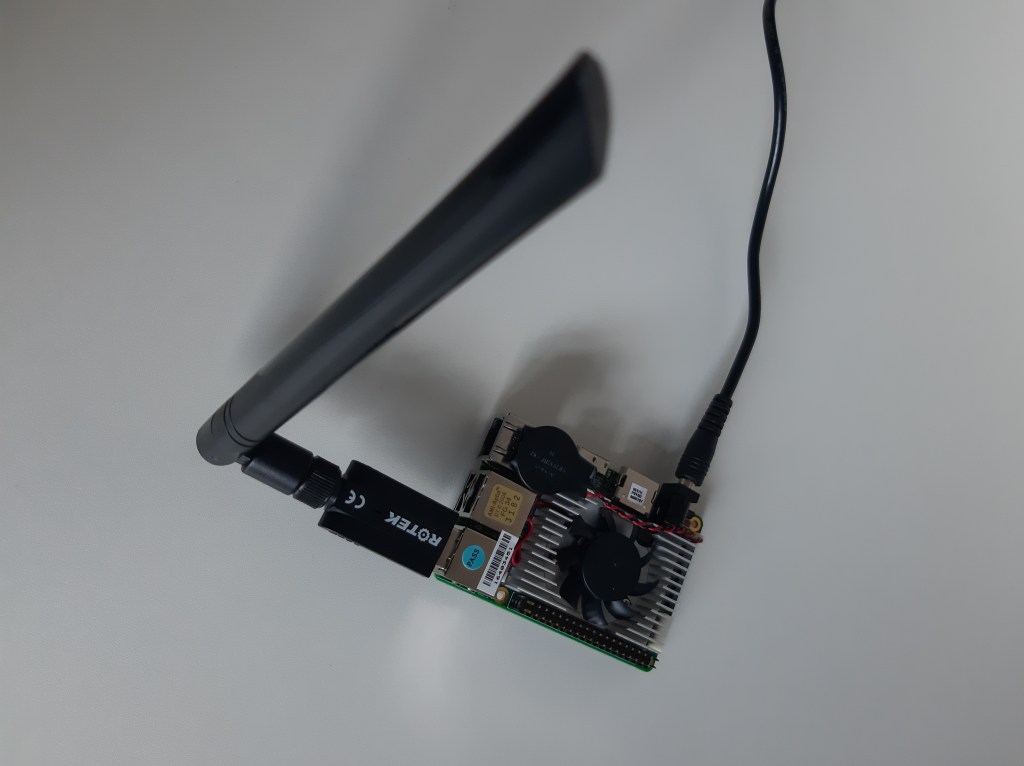
The UP board shipped with the Intel Robotics Development Kit only supports an Ethernet connection, so an external WiFi card is required. We connected a Rotek AC1200 dual band wireless USB 3.0 adapter, which requires RTL8811/RTL881 drivers, as shown below.

The UP board already has Ubuntu, ROS and Intel RealSense drivers installed as described in Getting started with the Intel RealSense Robotics Development Kit (RDK). To set up WiFi, first connect the UP board via an Ethernet cable to a router with Internet connection. For 4.4 kernel version, the drivers for this card are available from github here . First clone this repository using git clone https://github.com/cilynx/rtl88x2BU_WiFi_linux_v5.3.1_27678.20180430_COEX20180427-5959.git and then cd rtl88x2BU_WiFi_linux_v5.3.1_27678.20180430_COEX20180427-5959 before running the following commands:
VER=$(sed -n 's/\PACKAGE_VERSION="\(.*\)"/\1/p' dkms.conf)
sudo rsync -rvhP ./ /usr/src/rtl88x2bu-${VER}
sudo dkms add -m rtl88x2bu -v ${VER}
sudo dkms build -m rtl88x2bu -v ${VER}
sudo dkms install -m rtl88x2bu -v ${VER}
sudo modprobe 88x2bu
After this, restart the network by running sudo systemctl restart network-manager. You should now be able to see the available WiFi networks and connect as normal.
Next, install ssh to allow connections between the robot and workstation:
- Install ssh-server :
sudo apt-get install openssh-server - Enable ssh:
sudo systemctl enable ssh - Use uncomplicated firewall to allow port 22 connections:
sudo ufw allow ssh
You can always start, stop, restart, or check the status of the ssh service using the following commands:
sudo systemctl start ssh
sudo systemctl stop ssh
sudo systemctl restart ssh
sudo systemctl status ssh
Connecting an Xbox controller
The pdp Xbox controller is one of the official Microsoft Xbox third party controllers. The controller can be used to manually drive the robot around via the joystick interface during development and testing of navigation algorithms.
For most modern Ubuntu systems, the xpad driver is automatically loaded when the controller is connected via a USB port. If this does not happen automatically, try reloading the drivers using:
modprobe -r xpad
modprobe xpad
The joystick should now be detected and listed as js0 in response to the ls /dev/input command. If the joystick is still not detected, install xpad from source following the detailed instructions in the paroj/xpad repository.
Connecting a RealSense camera
A detailed guide on how to run the RealSense R200 camera in ROS, on the UP board, is available from Running Intel RealSense R200 ROS nodelet and RViz. The purpose of the Intel robotics development kit was to provide a small single board computer, capable of running ROS, that would allow the camera to be used for IoT or robotics applications. Since robots typically move, the UP board should be powered directly from the robot instead of the wall socket plug adapter that comes with the board. The next section describes the hardware modifications required for this.
Battery powered UP board
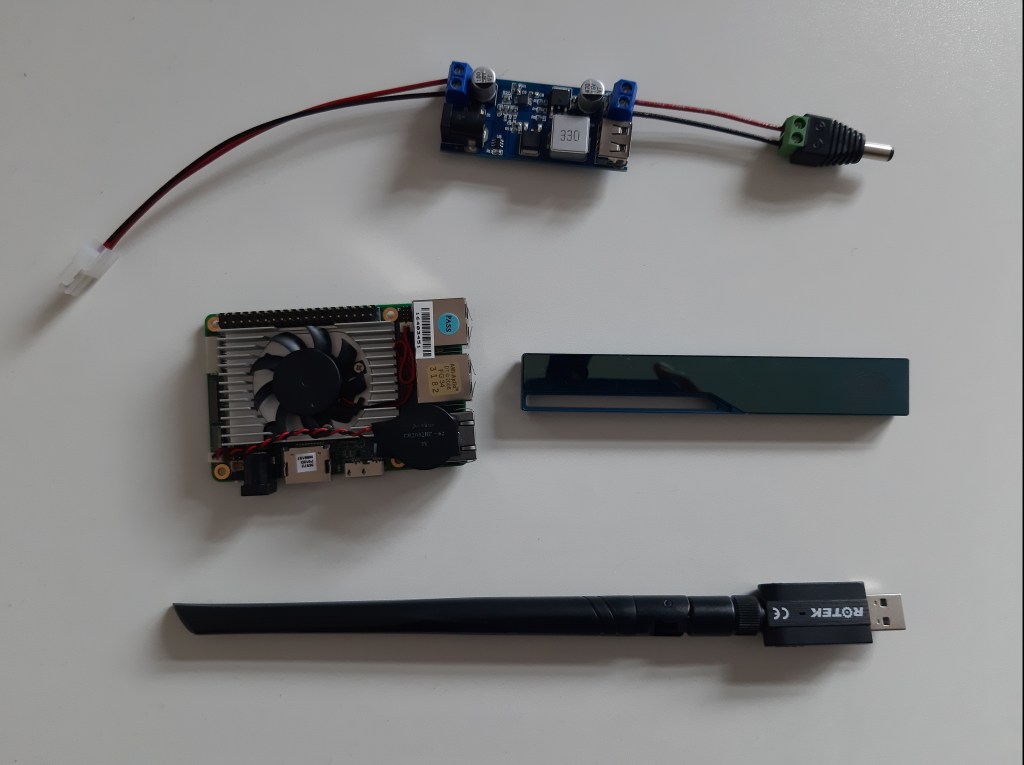
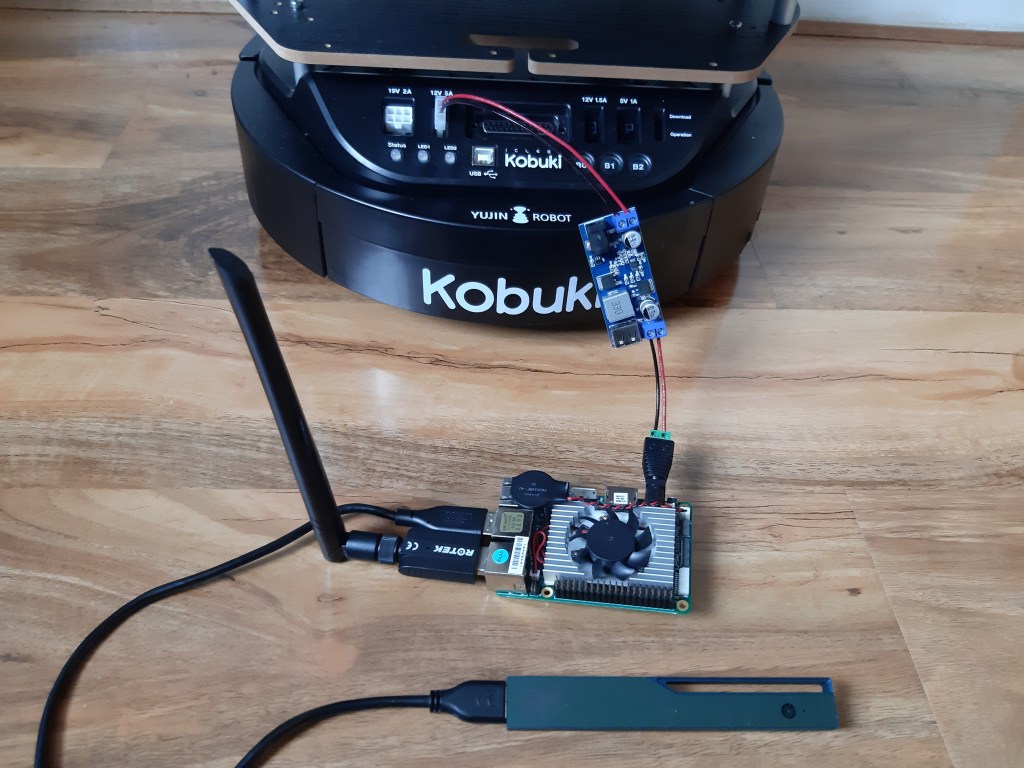
The final step is to power the robot’s single board computer (UP board) from the Turtlebot’s battery instead of a wall plug adapter. The robot base provides a 12V / 5A connection whilst the UP board power adapter output is rated at 5V / 4000mA with a 5.5 / 2.1mm jack barrel connector. Safely powering the board therefore requires a 5V power supply that is capable of supplying at least 4A of current. One way to achieve this is by connecting:
- A DC-DC regulator that converts 12V / 5A input to 5V / 4A output
- A Molex connector to attatch the robot’s 12V / 5A power supply to the DC-DC voltage regulator board
- A barrel connector which interfaces the regulator output with the UP board input
Finally, we want to be able to access the UP board immediately after booting so we can seamlessly ssh into the robot. In other words, Ubuntu must connect to a network before user login. To make this change open the file /etc/NetworkManager/system-connections/[YourWifiNameHere], find the line starting with permissions=user:username:; and remove all the text after the equals sign on that line. Save the file and reboot.
The robot is now ready to roam around freely!
